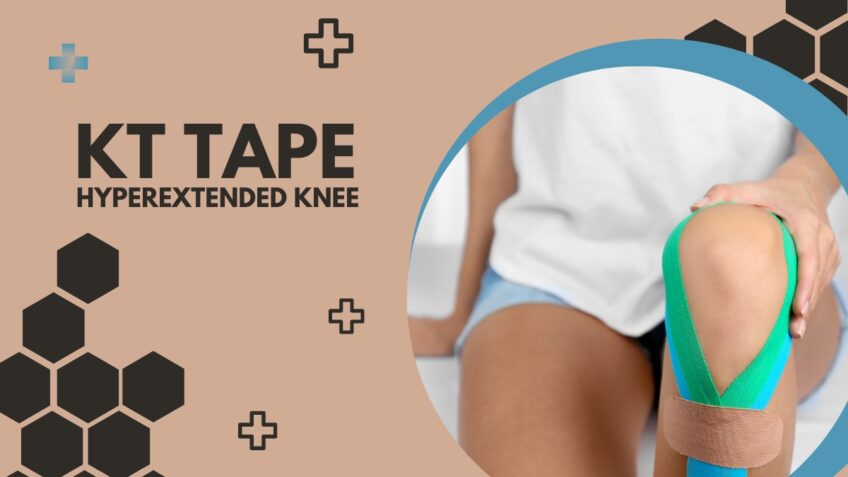
Kinesiology tape (KT) is a popular tool used by athletes, physical therapists, and medical professionals to provide support, reduce pain, and aid in the healing process of injuries. One common use of kinesiology tape is for hyperextended knees, which can cause pain, instability, and reduced mobility. In this guide, we will discuss the steps for properly applying kinesiology tape to a hyperextended knee, as well as tips for maximizing its effectiveness.
Preparation
When applying KT for a hyperextended knee, it is important to prepare both the knee and the tape before the application. This includes cleaning the area, drying it, and then measuring the tape to the exact size that is needed. Additionally, make sure to cut it into the necessary shapes and sizes to ensure proper coverage of the knee.
It is also important to create a plan for the application of the tape. Following these simple steps prior to tape application will ensure that the tape is properly applied and secured.
Gather the necessary supplies
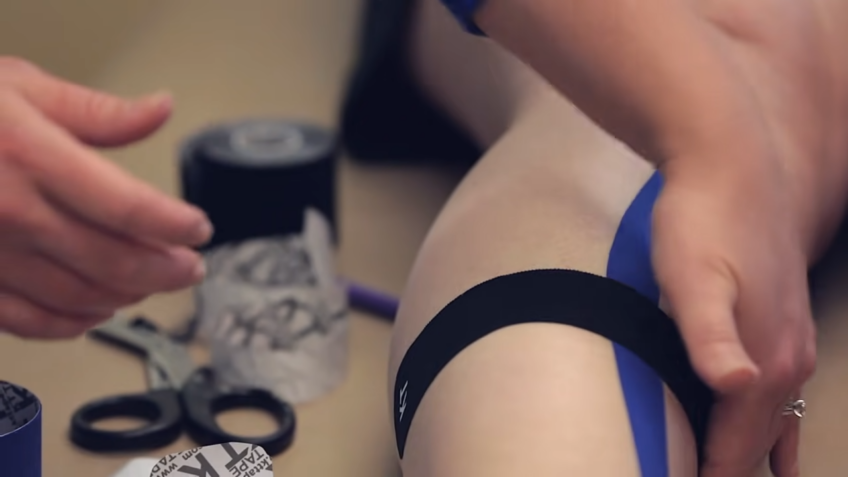
Prior to taping a hyperextended knee, it is important to gather the necessary supplies which should include:
-Kinesiology tape. The thickness should be moderately thin and may be either a single layer or double layer depending on the desired level of support.
-Cleaning solution or medical-grade disinfectant wipes. This is used to cleanse the skin prior to taping.
-Scissors. These are used to cut the KT into suitable pieces for the desired application.
-Applicator comb or hands-free applicator device (optional). This device can help apply tension when attaching the tape correctly, which may result in a better and more secure application of it.
Clean and dry the knee
Before applying it, clean and dry the knee using soap and warm water. Be sure to thoroughly dry the skin to help ensure that the tape adheres properly. If necessary, use a blow-dryer in a cool setting as long as it is held at least 6 inches away from your skin.
Make sure that you avoid getting any liquids onto or around your knee area while completing this step, as moisture can affect the stickiness of the tape and cause it to slip off.
Application
Applying it on a Hyperextended knee can be a difficult task, but it can provide pain relief and help with stability.
In this section, we’ll discuss the steps to apply it to ensure a secure and comfortable fit. We’ll also discuss how to apply the tape in the most effective way so that the benefits are maximized.
Apply the tape around the knee
Applying it around a hyperextended knee can help reduce the swelling and inflammation caused by this condition. The following steps outline the proper technique for applying KT to a hyperextended knee:
- Assess your knee to determine how much coverage is necessary and cut two strips of KT long enough to cover each side of the knee. Be sure that the strips extend far enough down the leg for full protection.
- Apply one strip of tape just above or below your kneecap, with one end stretching up toward your hip and the other end wrapping around toward your calf muscle (beginning at the side of your knee). This strip should be slightly stretched so that it covers more area without pulling too tightly against your skin, but it should still remain snug.
- Place a second strip on top of the first one and adjust until it provides adequate coverage and support for your knee joint, beginning at either side near the outside of your hip where you ended with the first strip and extending down across your calf muscle as far as needed. Make sure both strips are snugly but comfortably attached, without any puckers or wrinkles in them that could cause discomfort while running or exercising.
- Your final step is to press firmly on both layers all over with your middle fingers to secure them in place before running or taking part in physical activity. Repeat these steps for both sides if you are taping bilaterally (applying on both knees).
Start with the middle of the knee
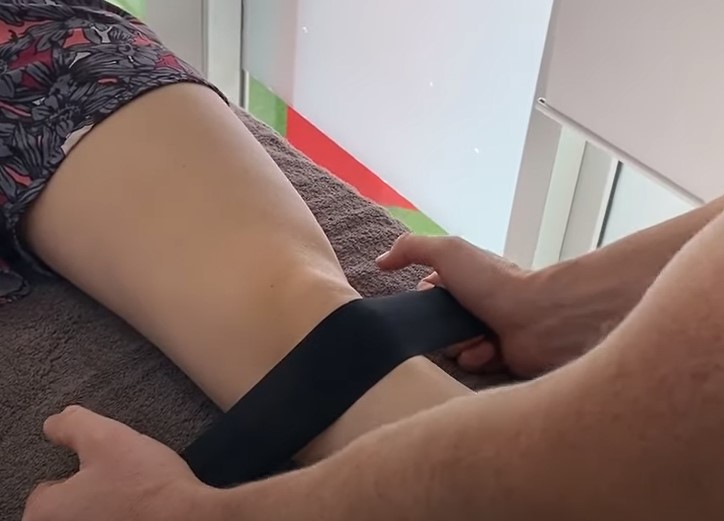
Before applying kinesiology tape to the hyperextended knee, ensure that the skin is clean and dry. Start by positioning it in a line up the middle of the knee, running laterally and horizontally.
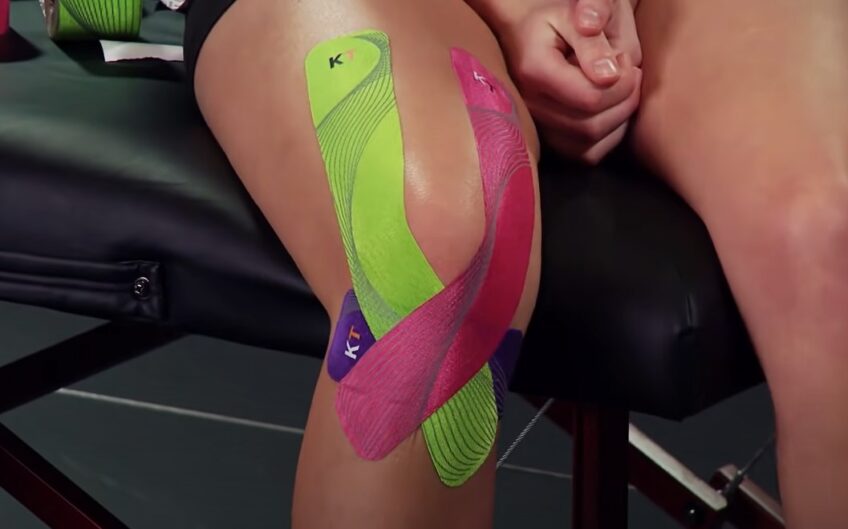
Cut four strips, following the line of the tape you’ve placed, making a plus-shape over your desired area. Applying tension to each piece as you place will draw tension away from your joints during motion.
Cut two additional pieces of tape in half, and attach each half to one corner of the plus-shape you’ve created on your knee. Place a strip from this side just above the kneecap and wrap it around the front, pulling diagonally downward and behind your leg until reaching below the backside of your knee. Do this for both sides to complete the application.
KT is considered safe for all age ranges and can be left on for up to 48 hours for optimal performance benefit with proper care and maintenance instructions followed accordingly.
Apply the tape in a spiral pattern
Start wrapping a few inches above the kneecap and wrap the tape around your leg in a spiral, overlapping every loop. Make sure that your wraps get gradually tighter and closer together towards the end of the wrap so that more tension is placed on your knee as you move downwards towards it. Make sure not to pull too hard when you overlap, so you don’t tighten your knee too much.
Once the full spiral pattern is completed, secure the end with some medical tape or adhesive spray if needed.
Secure the tape with anchor strips
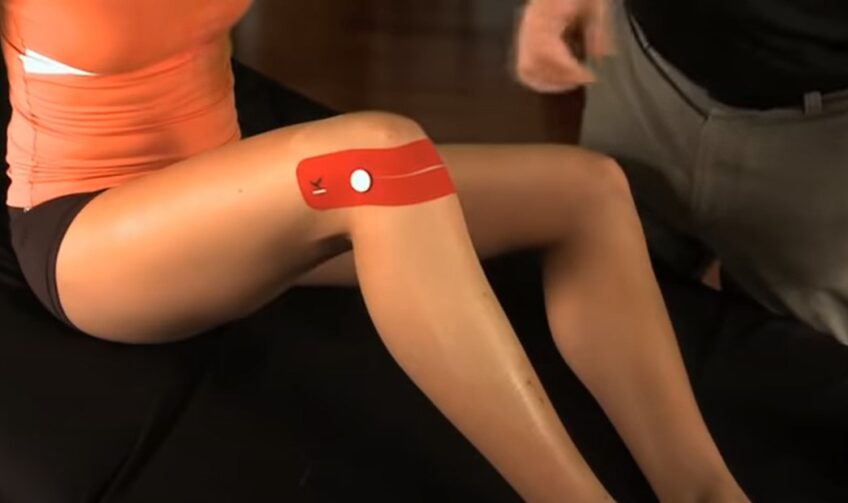
When you have your knee properly taped with KT, the anchor strips are used to anchor the tape in place over time. With your leg still slightly bent and supported, begin anchoring the top of the kinesiology tape with two small strips along both sides of the patella. The tension should remain consistent throughout the rest of your application.
You must ensure that these two pieces are strong enough to hold securely during activities such as jumping and running. If needed, use more pieces or overlap more tape to ensure your anchor strips are strong and stay in place. Avoid wrapping them around each other because if they start to unravel over time it can affect the way you move and affect circulation in that particular area.
When applying these anchors onto skin covered in lotion (e.g., sunscreen or body oil) make sure to clean off a portion so it is completely dry, then lightly pat antiperspirant onto that access piece of skin before sticking down the anchor pieces; this will help them stick better and last longer between activities. Move on to apply kinesiology tape to all four sides starting at one end and making sure to work slowly towards the other end without releasing tension or putting any strain on any area when applying it.
Finishing Touches
Once you have taped the knee, you are almost ready to go! Finishing touches are crucial to ensure maximum benefit from your KT application. Finishing touches might include trimming the edges of the tape and the removal of any excess tape.
Let’s go through the steps on how to finish the application process so that you can get the most out of your KT.
Trim the excess tape
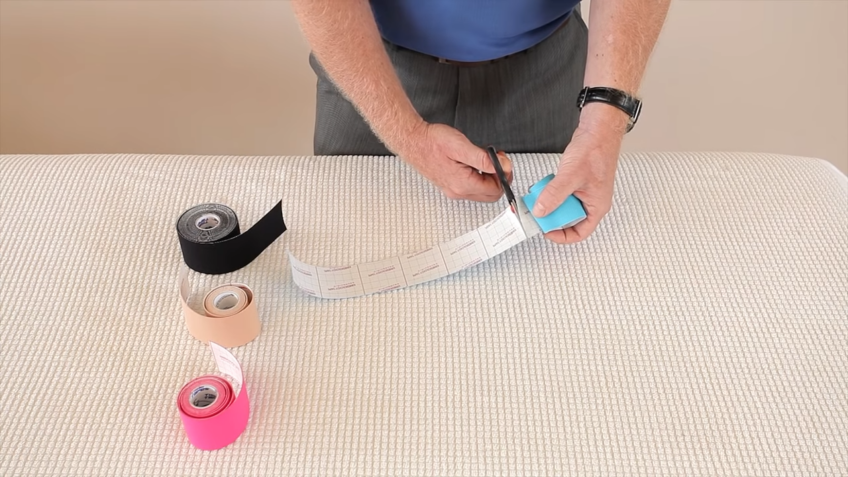
Once the knee is taut and taped well, you may now begin to trim the length of the tape on the leg. Make sure to leave some extra tape length at each end as a precaution whenever wrapping an area that has just been hyperextended. Leave a couple of inches of excess tape so that if any further wrapping is needed, you can easily lay more of it over top without having to start from scratch.
With sharp scissors, carefully trim away any excess pieces that run past the ends of your wraps. Now your patient’s knee should be safely secured and mobile for activities!
Secure the ends of the tape with anchor strips
Once it has been completely wrapped around the affected area, it is important to secure the ends of the tape to prevent any slipping or peeling. This can be done by using anchor strips, which are special adhesive strips that attach securely and stay on when the first layer of tape is removed.
To apply an anchor strip, simply cut two matching strips of KT slightly larger than needed and stick them on either end of your main strip. Ensure that both layers are fully secured, being careful not to catch any excess skin or clothing in between. Then, fold the flaps down onto your skin and tuck them in neatly so you have a tight fit once you’re finished.
To ensure that it sticks correctly and continues to provide relief, regularly check it for movement or fuzzing along the edges throughout your day. Make sure that all edges are firmly adhered to your skin—if not, re-attach them with a new piece of anchor strip if necessary.
Test the range of motion of the knee
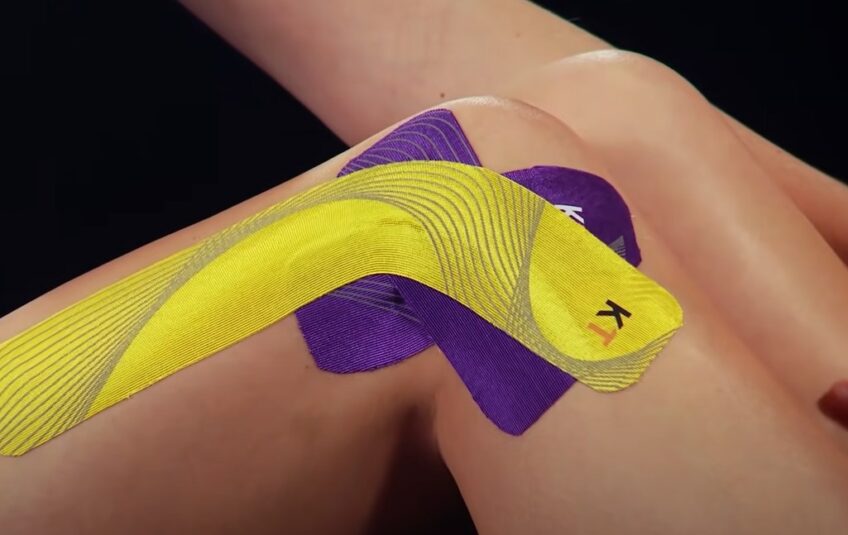
Once the KT has been successfully applied, it is important for the patient to test the range of motion of their knee. This is best done by having them slowly move through different ranges of motion movements to ensure that they are comfortable and free from pain. Examples of ranges of motion testing movements can include flexion, extension, medial and lateral folding, medial and lateral abduction, circumduction, and rotation testing.
If the patient experiences any pain or further discomfort throughout these different movements, then the taping job may need to be adjusted accordingly. Additionally, it is important for patients to actively test their range of motions on a regular basis in order to monitor any changes in flexibility that occur with their taped knee throughout the day. It is advised not to continue using kinesiology tape if at any point during active range-of-motion testing there is increased pain or discomfort experienced in the taped knee joint or surrounding muscles and tissues.
FAQs
Does kinesiology tape have any side effects?
It is generally safe and does not have any known serious side effects, although some individuals may experience skin irritation or allergic reactions.
Can kinesiology tape be applied by oneself or does it require professional assistance?
It can be applied by oneself with proper instruction and practice, although it may be beneficial to seek professional assistance for initial application and guidance.
Is kinesiology tape a substitute for medical treatment for a hyperextended knee?
No, it is not a substitute for medical treatment for a hyperextended knee and should be used in conjunction with appropriate medical care and rehabilitation.
Can kinesiology tape be used for other knee injuries besides hyperextension?
Yes, KT can be used for a variety of knee injuries, including ligament sprains, patellofemoral pain syndrome, and meniscus tears.
Is kinesiology tape waterproof or resistant to sweat?
Many brands of KT are water-resistant and sweat-resistant, although it is important to check the specifications for the specific brand being used.
Can kinesiology tape be used on sensitive skin?
Yes, many brands are designed for use on sensitive skin, although it is important to test a small area first to check for any adverse reactions.
Can kinesiology tape be reused?
It is typically designed for one-time use, although some brands may offer reusable options.
Can kinesiology tape be applied over clothing?
It can be applied over clothing, although it may be less effective than when applied directly to the skin.
Can kinesiology tape be used in combination with other knee supports, such as braces or compression sleeves?
Yes, KT can be used in combination with other knee supports to provide additional support and stability.
Can kinesiology tape help prevent hyperextension of the knee?
While KT can provide support and stability for a hyperextended knee, it is not a guaranteed preventative measure for future hyperextension injuries.
Conclusion
In conclusion, this can be a helpful tool for providing support and relief for hyperextended knees. By following the proper steps for application and ensuring proper tension and direction of the tape, individuals can experience reduced pain and improved stability in the affected knee.
While kinesiology tape should not be used as a substitute for medical treatment and rehabilitation, it can be a valuable supplement to these efforts. Additionally, seeking professional guidance and instruction on kinesiology tape application can help to maximize its effectiveness and ensure safe and proper use.

